How To Add Products To Shopify Store: The Comprehensive Guide
Are you planning to launch a Shopify ecommerce store? But you don’t know how to add products to Shopify store? Then, this blog is for you. Because in this blog, Arrowtheme will deliver you seven simple steps that can help you to add items to your store in the blink of an eye. So, let’s explore it right now!
The Thorough Guides About How To Add Products To Shopify Store
1. Sign In Your Shopify Account
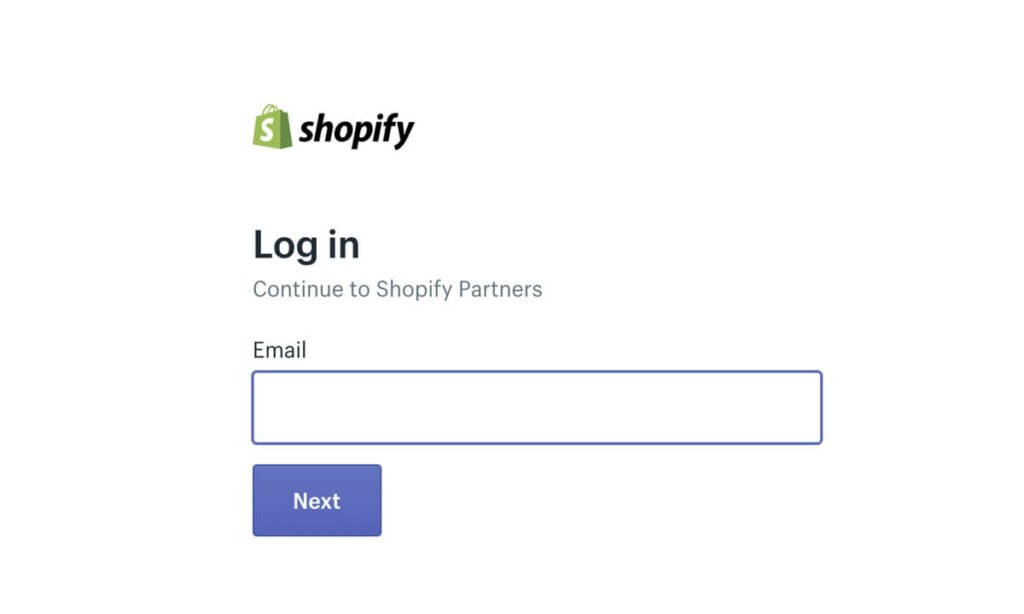
First and foremost, you have to log into your Shopify account backend if you want to build a product page. To do this, you should have all of your login information on hand.
On the Shopify website, go to “Log in” and enter your store address, email address, and password. In particular, you can take advantage of the “remember me” option to gain faster access to your account in the future.
However, if you’re utilizing a shared device, don’t do this.
Next, on your Shopify account, let’s look for the Products tab under the Search option. When you select this tab, you’ll see options such as “Add a product” and “Import items.” To go to the product page, click Add a product.
2. Inserting Product Details
The next step in the process about how to add products to Shopify store is adding the details of products. Mentioning to the product details, you must consider the following elements:
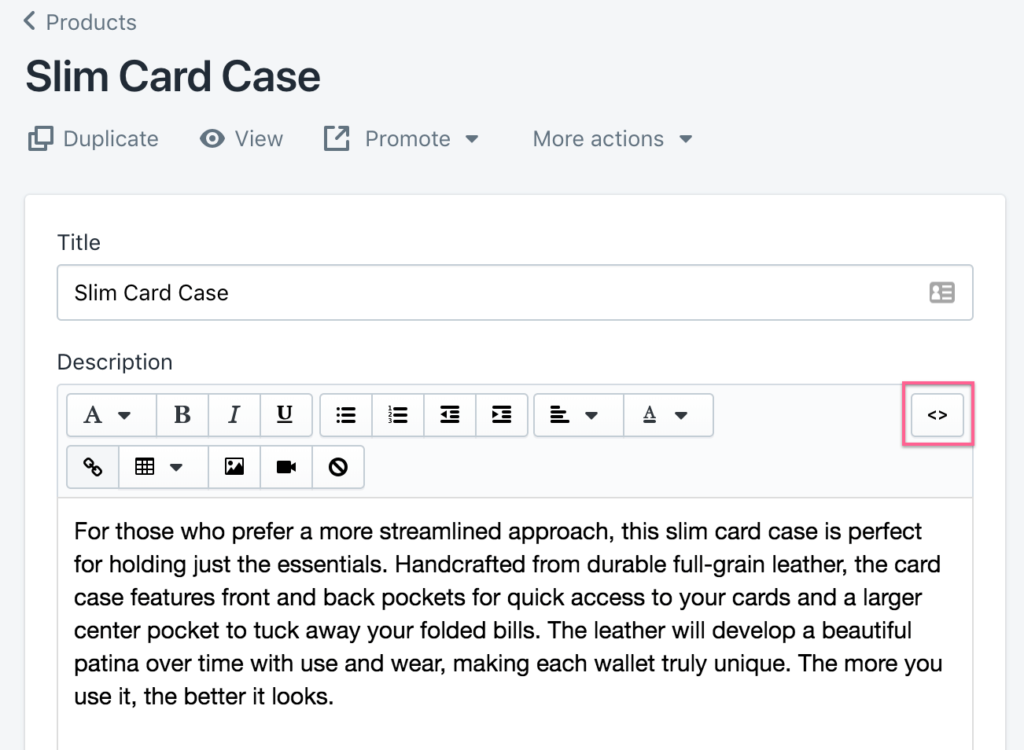
Product Title
The name you give your product is called the product title. For example, if you’re selling women’s shoes, you may label them “Purple ankle boots with kitten heels.” Your titles should ideally be brief, sweet, and to-the-point. Provide all of the information your customers require without overwhelming them.
What’s more, on every page, your titles should have the same look and feel. If you start with the product’s color on one title, you should do the same on each subsequent product page.
Description
In fact, one of the most crucial elements on your product page is your product description. Simply speaking, it’s a great opportunity for you to grab your potential customer’s attention and persuade them that they require whatever you’re offering. In particular, you should keep in mind to start with the customer’s benefits when writing a product description.
Moreover, you must take note that the copy and paste product information from other websites will cause a lot of drawbacks to the SEO of your website. So, don’t do that.
In addition, follow the same description structure every time you add a new product to your website. This might include employing a bullet list of attributes or even recommending complementary products to go with the main buy.
Product Type
Coming to the next section you can’t ignore if you are paying attention to how to add products to Shopify store – Product Type. In fact, this portion does not necessitate as much imagination as the previous two. Simply type a word or keyword that would place the item in a specified category.
Vendor
You can put your own brand name here if you made this item. Alternatively, if you’re selling a product from another brand, credit the maker or supplier in the Vendor area.
3. Focus On Inventory, Price, & Extra Information
As soon as you finish the major part of your product description, you’ll need to fill in the remaining details. Specifically, you may enter details like your product’s SKU, price, delivery choices, and weight in Shopify’s Inventory and Variants area.
Price
In fact, buyers will want to know how much each item on your eCommerce store will cost them. That’s why it’s critical to provide pricing for each of your pages. This area does not require a currency symbol because your Shopify General settings will tell the tool what currency your eCommerce shop utilizes.
Importantly, you must remember to pick your prices wisely. Because if you charge too much, you will surely put your customers off. However, you also don’t offer things for too little money, because it will hurt your profits a lot.
SKU
On Shopify, you input your Stock Keeping Unit in the SKU area of the items section. This is effectively a one-of-a-kind identifier for each item in your store. Besides, the number can be found on the manufacturer’s website or obtained directly from the source. So, if you’re having trouble, try searching Google for additional information from other tire owners.
Options For Shipping
After that, you need to inform your clients about how you plan to deliver their products. Following that, you can select or uncheck the Charge Taxes box or the Requires Shipping box for shipping alternatives. However, in case you’re offering downloaded products or services that don’t require delivery, you might not need either of those things.
Weight
Although the product’s weight may not appear to be significant, it still has a significant impact on your order fulfillment strategy’s freight and delivery costs. Moreover, you can use an estimate if you’re not sure about the actual weight, although it’s better to go over than under here.
After you’ve completed the weight part, you may use the variations and inventory sections to compare pricing for your products, input information such as a manufacturer’s barcode, and unlock fulfillment options if you’ve engaged fulfillment service support.
In addition, in order to keep track of your supply, you are able to create an inventory policy as well as add multiple color and size options.
4. Add Images To Products
In the comprehensive guide to let you know how to add products to Shopify store, we can’t help but mention adding product images.
For more detail, after you’ve input all of your product’s vital characteristics, you can start adding the photographs that will offer your buyers a better understanding of what they’re buying. If store owners can post as many relevant photographs as possible here, it will be beneficial to customers.
What’s more, make sure to use consistent formatting when naming your photographs, and use a dash to separate each phrase. Because this will aid in the discovery of images as well as the improvement of your SEO ranking. Besides, we also advise you to include multiple photographs of your product on each page, from various perspectives and, if available, different color options.
Best of all, you must keep in mind to always ensure each image is of good quality and clarity, and that you have permission to use any of the photographs you’re accessing.
5. Add Tags & Collection Information
After you’ve completed your photography, the next step is to organize your products into collections or regions on your website. As you know, a Shopify Collection is similar to a category on Shopify. So, you may add your product page to any category by clicking the Add to Collections button. This could entail, for example, adding some boots to the “footwear” assortment.
Besides, tags also play an important role in satisfying your customers because they will make it easier for customers to search their necessary things quickly. From your Shopify admin panel, go to the Organization section and click on the name of the product you wish to change. You can use a comma to separate various words when adding tags to your products. When you’re finished, click Save.
Not only that, as a Shopify owner store, you can take advantage of tags to generate automated collections. All you need to do is go to the Collections tab on your admin page and give your collection a description or title. After that, select Automated from the Type drop-down menu, and then specify the characteristics your items must meet to be included in that collection.
6. Make Changes To Your Search Engine Listing
If you want to know all about how to add products to Shopify store, altering your search engine listing is an essential step you can’t ignore. Firstly, thanks to the automatically created meta descriptions and page names, Shopify will help you a lot with search engine optimization. These automatically created pieces of information, on the other hand, derive from the details you entered on the Product Details screen.
Besides, with the aim of getting the most out of your SEO, you may need to modify the Meta Description and Page Title information separately. In particular, both your page title and meta description should include relevant keywords for your products. To make changes to your data, go to the Product Details page and then to the Search engine listing preview.
Next, you have to click Edit website SEO and enter a descriptive title that incorporates your keywords in the page title area. Because this will appear in Google’s search engine results, so you must focus on them a lot. In your title, you can use up to 55 characters. You can also provide your search engine listing a description. Make sure to include important keywords to help customers locate you. Up to 320 characters can be used in meta descriptions.
After that, you must edit your website address in the URL and handle the area. It’s possible that any random integers in your URL should be replaced with keywords relevant to the product page. Keep in mind that your URL can’t have any spaces in it. Handles are compatible with the Shopify theme design. Finally, click Save when you’re finished.
7. Publish Your Product Page

Coming to the final step in the process of how to add products to Shopify store is publishing your product page. Firstly, you have to check the specifics of your product pages and perform a quick review once everything is ready before clicking the Save product button in the bottom right corner of the screen. After you’ve saved, navigate to the top of the page to see what your product page looks like.
In addition, in order to make sure everything looks stunning and great, let’s click the “View on your website” option.
Especially, if you find any problems, simply return to your specific product page and make the necessary changes. Then, remember that while you can modify your product details at any moment, doing so may have an influence on how product collections in your reports. Hence, you must use tags and collections with caution.
In case you expect to edit a page, visit your Shopify admin page and click Products. Then, click the name of the product you wish to alter. Finally, make any necessary changes to the details before clicking Save.
In Conclusion
To sum up, through this article Arrowtheme has brought you step-by-step details to help you understand how to add products to Shopify stores. Then, we hope you can take advantage of them in order to adapt to your business successfully. Aside from adding products to the Shopify store, you should refer to many other Shopify tutorials. For examples: Shopify Related Products, Shopify Collections, Seo For Shopify and so much more.
Furthermore, do you want to drive more revenue for your Shopify website without spending too much resources? Then, high quality Shopify Packages of Arrowtheme are all you are seeking. In particular, we are running a big sale program that offers you a great deal of sale off up to 30% for most of our Shopify services.
Contact US – ArrowTheme:
– Email: [email protected]
– Facebook: Facebook.com/ArrowThemeTeam
– Website: ArrowTheme.com