Setup Google Analytics for Shopify: Step-By-Step Guide
If you own an online store, you will know how difficult it is to identify your target customers. Moreover, you have to do anything with the aim of reducing your advertising spend and increasing your revenue.
Therefore, by using Google analytics, you are able to track and analyse data from your Google Analytics account. This helps you adjust your business strategies and then improve your sales.
Therefore, in this article, ArrowTheme will bring to you the detailed guideline about Google analytics for Shopify and how to add google analytics to shopify. Let’s discover.
What is Google Analytics?
Google Analytics is a web analytics tool. Thanks to Google Analytics, you can optimize SEO and marketing by basic analytical tools and statistics. Moreover, anyone with a Google account can use this tool. Because it is a part of the Google Marketing Platform and is free.
Google Analytics is used to track the effectiveness of a website and obtain information about its visitors. Therefore, it can determine the most popular sources of user traffic, evaluate the performance of their marketing operations and campaigns, and keep track of goal completions.
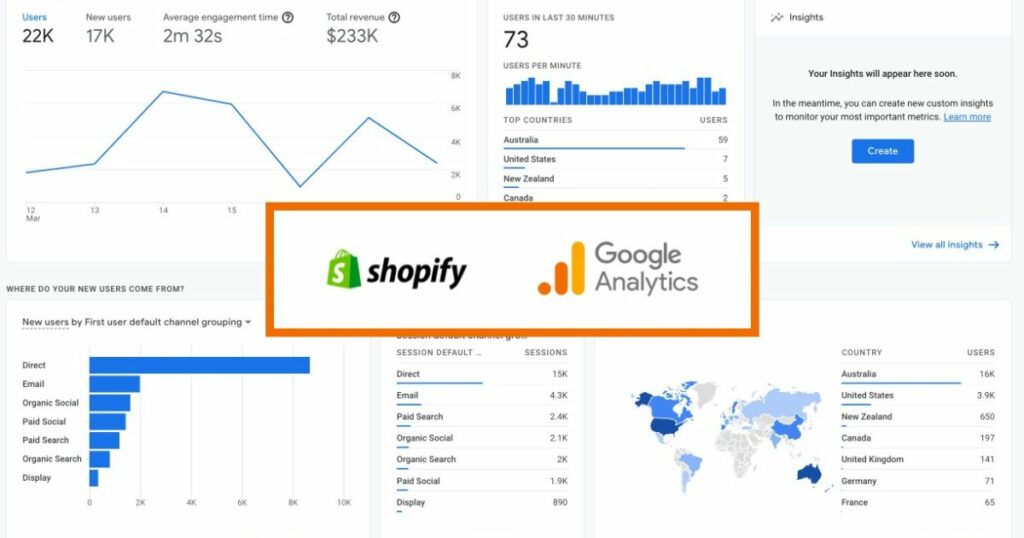
The differences Between Shopify and Google Analytics
According to Shopify, Shopify analytics are more precise and update faster because they are directly linked to your store. However, According to Shopify, Shopify analytics are more precise and update faster because they are directly linked to your store.
Shopify users often complain that their number of visitors is smaller than Google’s. This is most likely due to differences in the way Google and Shopify track and record its visitors.
Moreover, Google Tag Assistant is a useful tool that checks your website for any tracking script issues.
Furthermore, keep in mind that Shopify’s Customers reports are restricted to 30,000 customers.
Therefore, in case you have a large ecommerce store and need data for more than 30,000. So you have to use Google Analytics.
What you’ll need to get started with Google Analytics to Shopify?
You have to make sure that you have all of the tools before you can start collecting important data with a Google tracking code. Therefore, you need to set up a Shopify account and a Google Analytics account for your Shopify website.
Please note that your new website will require you to create a Gmail account. However, you just need a gmail account to keep track of your Shopify data.
How to add Google Analytics to Shopify?
Step 1: Ensure you don’t already have Google Analytics turned on.
In case you’re certain you’ve never had Google Analytics enabled for your store, so you can move to Step 2: Create a Google account.
However, if you’re not sure if Google Analytics has been enabled for your store, so please follow these steps below:
1. Select Shopify admin > Online store > Preferences.
2. Ensure the box in the Google Analytics section only has the text Paste your code from Google here. Thus, you can continue to the next step if you see this. If you see a code that starts with UA- instead, you’ve already set up Google Analytics. Therefore, you’re able to skip to step 4: Enable eCommerce tracking.
3. Choose Themes.
4. Select Actions > Edit code.
5. Select {/} theme.liquid. in the Layout section
6. In the theme.liquid file, seeking Google Analytics tracking tags as the following: ga.js, dc.js, gtag.js, or analytics.js. In case you see these tags in your theme.liquid.
Therefore, you have already Google Analytics enabled. And then you are allowed to move to Step 4: Enable ecommerce tracking.
Step 2: Create a Google account.
To use Google Analytics, you must have a Google account. However, if you already have a Google account for Gmail or Ads, you may use it for Google Analytics as well. In contrast, you have to create a Google account if you don’t already have one for a Google product.
Except for logging in and out of Google Analytics, you don’t need to access your Gmail account. Furthermore, create an Analytics account after you’ve created a Google account.
Step 3: Enable Google Analytics
Create a Universal Analytics property in Google and insert it to your Shopify store to activate Google Analytics.
1. Log in Google Analytics in the web browser
2. Choose Admin.
3. Choose the correct account in the Account column
4. Select Create Property in the Property column.
5. Type the name for the property.
6. Click Create a Universal Analytics property only.
NOTE: Google Analytics 4 properties are created by default, and they are incompatible with Shopify. Make sure to add a Universal Analytics property to your account.
7. Select Next.
8. Choose the suitable settings.
9. Select Create.
10. Copy the Universal Analytics property to your clipboard
11. Go to Shopify admin in new tab
12. Go to Online store > Preferences.
13. Move to the Google Analytics section and then you have to paste your Universal Analytics property in the Google Analytics account
NOTE: Until you remove password security from your online store, Google Analytics will be unable to track visits.
Step 4: Enable eCommerce tracking
Google’s eCommerce tracking is available in two different levels of detail:
- If you only need transaction and revenue statistics, go with basic ecommerce tracking.
- If you want more information about visitor activity, you can use enhanced ecommerce tracking.
Enable basic ecommerce tracking.
1. Go to Google Analytics account > Admin.
2. View column > Ecommerce Settings.
3. Switch the Enable Ecommerce toggle from OFF to ON.
Enable enhanced ecommerce tracking
1. Move to the Shopify admin > Online store > Preferences.
2. In the Google Analytics section, check Use Enhanced Ecommerce. In case you’re using an old version of Google Analytics, you may need to choose Upgrade to the latest version before selecting the Use Enhanced Ecommerce option.
3. Select Save.
4. Choose Admin in your Google Analytics account
5. Select Ecommerce Settings in the View column
6. Switch the Enable Enhanced Ecommerce Reporting toggle from OFF to ON.
7. Click Save.
Basic concepts of Google analytics for Shopify
Sessions and Visitors
A session is defined as the number of interactions a visitor has with your store in a certain amount of time. Google Analytics usually sets a default time of 30 minutes.
Visitors maintain track of the devices that my potential customers use to access your site. A smartphone or a desktop PC can be used. Moreover, cookies, which are files stored on the customer’s desktop or mobile device when they first visit your site, save the visitor’s information.
The cookies are divided in half. One that recognizes the type of device a customer is using. And another collects all session data.
Average Session Duration
This is the total duration of all sessions over the total number of sessions. The duration of each session should be measured in seconds.
Percentage New Sessions
This shows the proportion of first-time visitors. Therefore, you can see new sessions made by users.
Bounce Rate
The amount of time a visitor spends on your Store’s pages before leaving without taking any action, such as purchasing something.
Thus, for most online shops, high bounce rates could be a nightmare. Therefore, you definitely need to lower the amount of bounces by a large percentage.
Getting Shopify Premium Reports by Upgrading
It’s easy to get lost in the various reports and get unable to make a decision. That is the reason you should upgrade to get Shopify Premium Reports. Besides that, every Shopify package includes the following reporting basic levels:
Following are the different levels of Shopify reports on each package:
If you want to build your ecommerce business and earn lots of money each month, you should consider upgrading to at least the ‘Shopify’ plan. An ‘Advanced Shopify’ plan is perfect if you already have a medium-to-large ecommerce store with high revenues.
So now we will go through 3 kinds of premium reports. These are types of reports you can use when you upgrade to ‘Shopify’ or ‘Advanced Shopify’.
1. Shopify Sales Reports
In Shopify Sales Reports, you also see the following:
- Where did your sales come from?
- How does your sales change over time?
- Which products are the most popular?
- How effective are the discounts you’re offering?
- What marketing channel did you use to make your sale?
Shopify sales reports allow you to keep track of not only the sales you’ve made, but also the ones you haven’t. Moreover, you also can see the returns and canceled orders.
Shopify’s standard “Shopify” plan includes sales reports. If you’re on Shopify’s “Advanced” or “Plus” plans, you may additionally filter and modify your sales reports to display only the data you need.
2. Shopify Customers Reports
In case your store is on the ‘Shopify,’ ‘Advanced Shopify,’ or ‘Shopify Plus’ packages, you can see Shopify Customers reports.
While Google Analytics provides lots of useful information, Shopify’s Customer Reports also has detailed data and split it down into more manageable chunks.
Furthermore, customer reports allow you to learn insight into the details of your customers. Therefore, this is really helpful. Because it allows you to customize your store to meet the needs of your customers.
The key points are comparable to what Google Analytics can provide:
- Customers grouped by area
- Customers that return
- Returning customers vs. first-time customers
- Customers who visit your store only once
However, if you have ‘Shopify Advanced’ or ‘Shopify Plus,’ you get access to two types of information that are quite useful:
- At-risk customers: Customers who haven’t purchased from you in a long time, and Shopify believes there’s a probability they won’t return.
- Loyal customers: Customers who have already purchased from you and who Shopify believes will purchase from you again.
3. Shopify Custom Reports
NOTE: To modify your reports, you must be on Shopify’s Advanced Plan or Shopify Plus.
You can create custom reports based on the following five factors:
- Sales
- Taxes
- Customers
- Payments
- Visitors
Conclusion
Don’t worry if you’ve finished this guide and still have more questions than when you started. So access us at Contact US. Now do you know how to add Google Analytics to Shopify. Let’s do it right now.
Read More: How to Cancel Shopify Account and Cancel Your Subscription