Shopify Recommended Products: Config & Display on Shopify
If you are catching the problem of showing Shopify recommended products on the product page, you’ve been to the right place. Because in this blog, Arrowtheme will instruct you the simplest way to show them in the blink of an eye. Then, what are you waiting for without exploring it right now!
What Are Shopify Recommended Products?
Firstly, coming to Shopify recommended products, you must know that Shopify has introduced dynamic, automatically produced product recommendations, which can be activated as a section on your theme’s product pages.
In fact, products are suggested using an algorithm that predicts the most relevant products depending on how a client interacts with the product. Moreover, the algorithm that created these products looked at sales data and product descriptions to come up with a list of products that were similar or frequently purchased together. Then, as additional orders and product data become available, the product recommendations increase over time.
Moreover, Shopify recommended products will only be shown if the product is part of a Collection. However, in case the product isn’t part of a collection, no suggested products will appear.
How To Show Shopify Recommended Products On The Product Page?
Firstly, if you want to apply the tutorials below, you must have the knowledge of web design languages including HTML, CSS, JavaScript, and Liquid. Besides, you should keep in mind that Shopify recommendation products are included by default in the current versions of the following Shopify themes:
- Boundless.
- Brooklyn.
- Debut.
- Minimal.
- Narrative.
- Simple.
- Venture.
However, with an older version of one of these themes, instead of modifying the code, you only can show product recommendations when you update it. Then, let’s refer to the great way to show Shopify recommended products right now!
Step 1: Build A product-recommendations.liquid Section
Build A product-recommendations.liquid Section With Desktop
- Firstly, go to Online Store > Themes in your Shopify admin.
- Secondly, after you’ve found the theme you wish to change, go to Actions > Edit code.
- Then, click Add a new section in the Sections directory.
- After that, click Create section and give the new section the name product-recommendations.
- Replace the entire content with the following code:
- Finally, click Save.
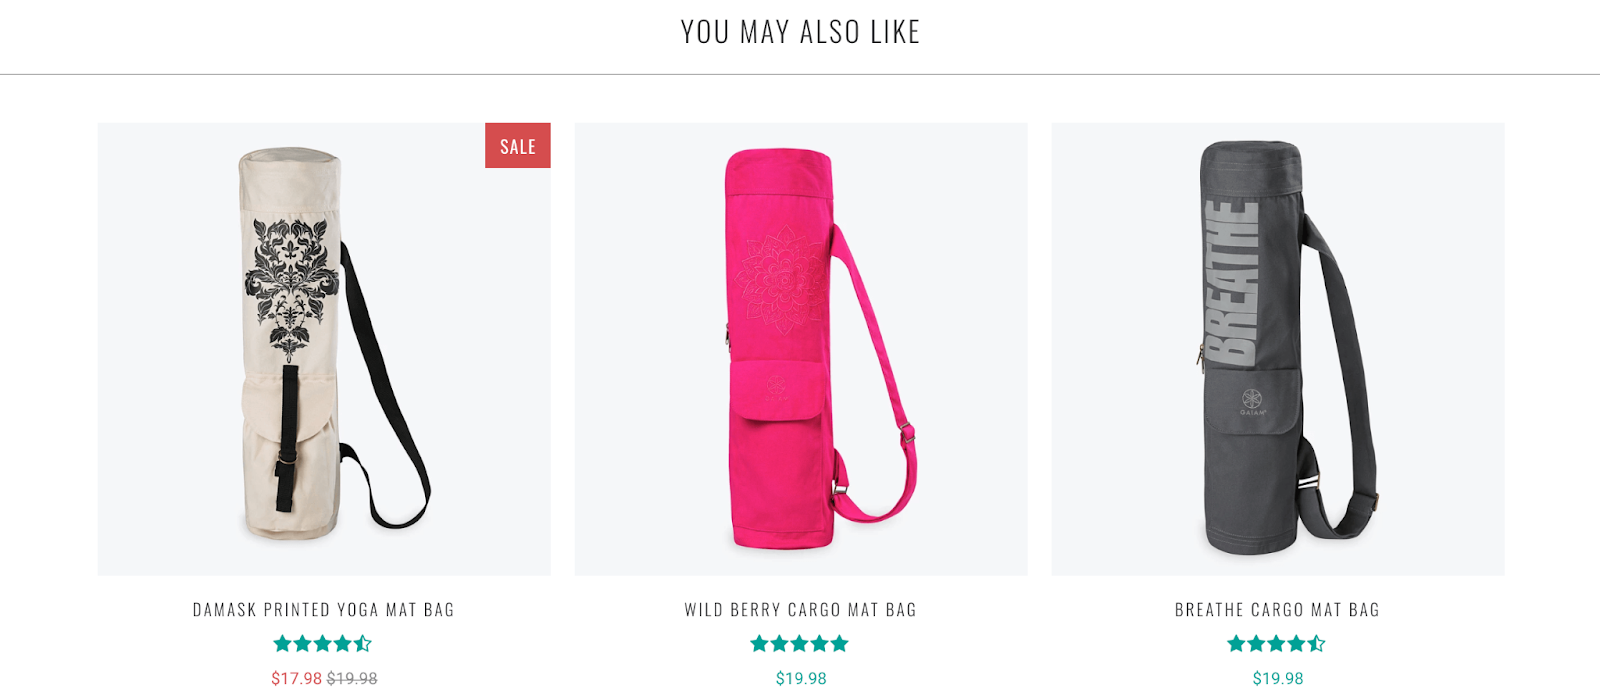
{% assign heading = ‘You may also like’ %}
{% assign limit = 4 %}
<div class=”page-width product-recommendations” data-base-url=”{{ routes.product_recommendations_url }}” data-product-id=”{{ product.id }}” data-limit=”{{ limit }}” data-section-id=”{{ section.id }}” data-section-type=”product-recommendations”>
{% if recommendations.performed %}
{% if recommendations.products_count > 0 %}
<div class=”section-header text-center”>
<h2>{{ heading }}</h2>
</div>
<ul class=”grid grid–uniform grid–view-items”>
{% for product in recommendations.products %}
<li class=”grid__item small–one-half medium-up–one-quarter”>
{% include ‘product-card-grid’, max_height: 250 %}
</li>
{% endfor %}
</ul>
{% endif %}
{% else %}
<div class=”product-recommendations__loading-dots”>
<div class=”product-recommendations__loading-dot”></div>
<div class=”product-recommendations__loading-dot”></div>
<div class=”product-recommendations__loading-dot”></div>
</div>
{% endif %}
</div>
Because recommendations.performed is false when the section is shown with the product page, the resultant HTML will display a loading animation like below:
<div class=”page-width product-recommendations” data-base-url=”/recommendations/products” data-product-id=”123″ data-limit=”4″ data-section-id=”product-recommendations” data-section-type=”product-recommendations”>
<div class=”product-recommendations__loading-dots”>
<div class=”product-recommendations__loading-dot”></div>
<div class=”product-recommendations__loading-dot”></div>
<div class=”product-recommendations__loading-dot”></div>
</div>
</div>
In case you don’t want a loading animation be shown, let’s take advantage of the following code:
{% assign heading = ‘You may also like’ %}
{% assign limit = 4 %}
<div class=”page-width product-recommendations” data-base-url=”{{ routes.product_recommendations_url }}” data-product-id=”{{ product.id }}” data-limit=”{{ limit }}” data-section-id=”{{ section.id }}” data-section-type=”product-recommendations”>
{% if recommendations.products_count > 0 %}
<div class=”section-header text-center”>
<h2>{{ heading }}</h2>
</div>
<ul class=”grid grid–uniform grid–view-items”>
{% for product in recommendations.products %}
<li class=”grid__item small–one-half medium-up–one-quarter”>
{% include ‘product-card-grid’, max_height: 250 %}
</li>
{% endfor %}
</ul>
{% endif %}
</div>
What’s more, the produced HTML for the above section with your product page will be a div element with no content:
<div class=”page-width product-recommendations” data-base-url=”/recommendations/products” data-product-id=”123″ data-limit=”4″ data-section-id=”product-recommendations” data-section-type=”product-recommendations”>
In addition, in case the user is utilizing a different locale, the locale is provided in the data-base-url of the div. /fr/recommendations/products, for example.
Build A product-recommendations.liquid Section With Mobile
- Firstly, tap Store on the Shopify app.
- Tap Online Store under the Sales channels section.
- Then, select Manage themes
- After you’ve found the theme you wish to change, go to Actions > Edit code.
- Then, click Add a new section in the Sections directory.
- Then, click Create section and give the new section the name product-recommendations.
- After that, replace the entire content with the following code:d the theme you wish to change, go to Actions > Edit code.
- Then, click Add a new section in the Sections directory.
- After that, click Create section and give the new section the name product-recommendations.
- Replace the entire content with the following code:
{% assign heading = ‘You may also like’ %}
{% assign limit = 4 %}
<div class=”page-width product-recommendations” data-base-url=”{{ routes.product_recommendations_url }}” data-product-id=”{{ product.id }}” data-limit=”{{ limit }}” data-section-id=”{{ section.id }}” data-section-type=”product-recommendations”>
{% if recommendations.performed %}
{% if recommendations.products_count > 0 %}
<div class=”section-header text-center”>
<h2>{{ heading }}</h2>
</div>
<ul class=”grid grid–uniform grid–view-items”>
{% for product in recommendations.products %}
<li class=”grid__item small–one-half medium-up–one-quarter”>
{% include ‘product-card-grid’, max_height: 250 %}
</li>
{% endfor %}
</ul>
{% endif %}
{% else %}
<div class=”product-recommendations__loading-dots”>
<div class=”product-recommendations__loading-dot”></div>
<div class=”product-recommendations__loading-dot”></div>
<div class=”product-recommendations__loading-dot”></div>
</div>
{% endif %}
</div>
Then, you should apply the steps the same as them with it on the desktop we instruct above.
Step 2: Contain The Section In Your product.liquid Template
Include the following section at the bottom of your templates/product.liquid file to display Shopify recommended products at the bottom of your product page:
- Firstly, open the product.liquid file in the Templates directory.
- At the bottom of the file, add the following code: {% section ‘product-recommendations’ %}
- Then, click Save.
Step 3: In Order To Load The Recommendations Asynchronously, Edit Your Theme.js File
After that, you must fill the empty container created by the section on the product page with recommendations. Besides, is it possible to send an HTTP GET request to <base_url>?section_id=<section_id>&product_id=<product_id>.
- Firstly, you must open the theme.js file in the Assets directory.
- Then, let’s look for the following line of code to know how to load the recommendations asynchronously: sections.register(‘hero-section’, theme.HeroSection);
- Add the following code below that line:
sections.register(‘product-recommendations’, theme.ProductRecommendations);
- After that, at the bottom of the file, you have to add the code like below:
theme.ProductRecommendations = (function() {
function ProductRecommendations(container) {
var $container = (this.$container = $(container));
var baseUrl = $container.data(‘baseUrl’);
var productId = $container.data(‘productId’);
var limit = $container.data(‘limit’);
var productRecommendationsUrlAndContainerClass = baseUrl + ‘?section_id=product-recommendations&limit=’ + limit +
‘&product_id=’ +productId +
‘ .product-recommendations’;
$container.parent().load(productRecommendationsUrlAndContainerClass);
}
return ProductRecommendations;
})();
- Finally, click Save is done.
Step 4. Make Change To The theme.scss.liquid File To Build The Loading Animation (Optional)
Coming to the last step to create the loading animation. Luckily this step is optional, so you can implement it or not as you want. For more detail, you must add the following code to the bottom of your assets/theme.scss.liquid file if you used the snippet that shows a loading animation inside your product suggestions section:
- Firstly, open the theme.scss.liquid file in the Assets directory.
- Then, add the following code to the bottom of the file.
- Finally, click Save to finish.
.product-recommendations {
padding-top: $section-spacing-small;
padding-bottom: $section-spacing-small;
@include media-query($medium-up) {
padding-top: $section-spacing;
padding-bottom: $section-spacing;
}
}
.product-recommendations__loading-dots {
height: 350px;
display: flex;
align-items: center;
justify-content: center;
}
.product-recommendations__loading-dot {
animation: dot-keyframes 1.5s infinite ease-in-out;
background-color: $color-text;
border-radius: 10px;
display: inline-block;
height: 10px;
width: 10px;
margin: 0 3px;
&:nth-child(2) {
animation-delay: 0.5s;
}
&:nth-child(3) {
animation-delay: 1s;
}
}
@keyframes dot-keyframes {
0% {
opacity: 0.4;
transform: scale(1, 1);
}
50% {
opacity: 1;
transform: scale(1.2, 1.2);
}
100% {
opacity: 0.4;
transform: scale(1, 1);
}
}
In Conclusion
In general, displaying the Shopify recommended products is not difficult, just need to follow our tutorials above, then you will display them successfully. If you want to run your Shopify store smoothly, aside from this blog, you must consider more other instructions such as: Shopify Cart Attributes, Sitemap Shopify, How To Add Paypal To Shopify and so much more. Not only that, you should visit our Shopify solution to get more ideas.
In particular, Arrowtheme offers Shopify Website Packages with the help of a team of seasoned Shopify experts that can solve every of your problems. Best of all, at this time, we are launching an appealing discount that gets upto 30% off for all of our Shopify services. Need any support with Back-end/Front-end updates, Maintenance services or anything else, let’s CONTACT US as soon as possible to grab this deal quickly.
Contact US – ArrowTheme:
– Email: [email protected]
– Facebook: Facebook.com/ArrowThemeTeam
– Website: ArrowTheme.com